Topic 01 · Using downloaded art
Slice a downloaded sheet into frames.
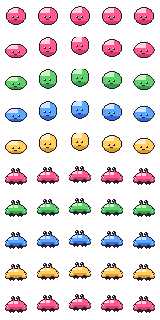
Three clicks. Follow along with the free sample sheet (5 × 10 sprites, 32-pixel cells) — every button below is exactly where the picture shows it.

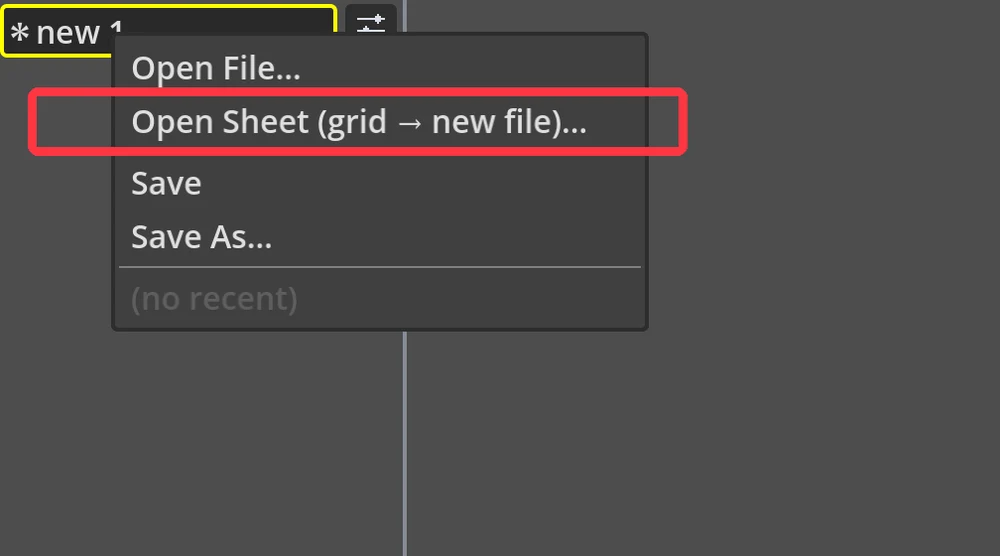
Top-left folder menu → Open Sheet (grid → new file)… , then pick your sheet .png.
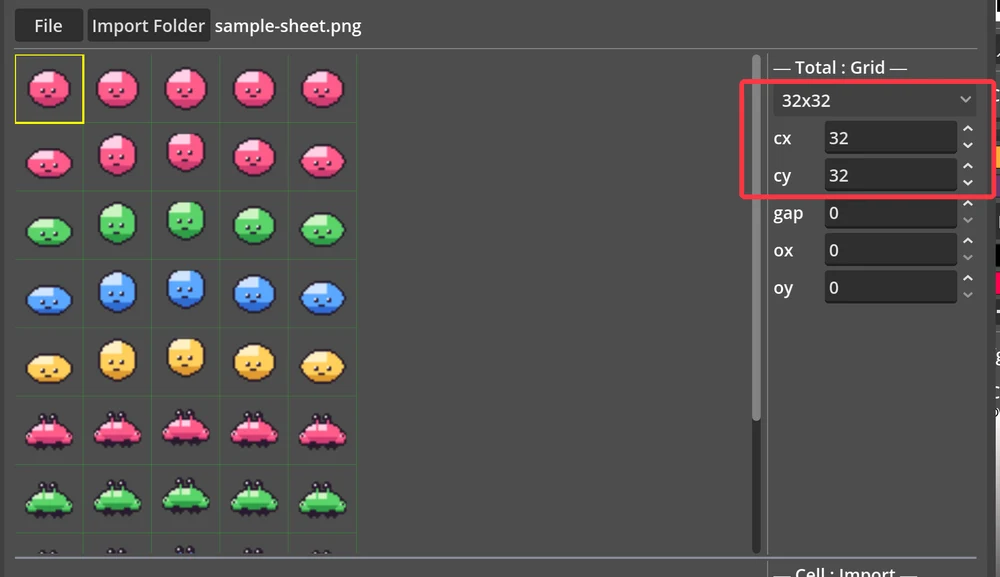
In the ── Total : Grid ── panel, pick 32x32 from the dropdown (or type
cx / cy). The sheet splits into a grid — one row = one animation.
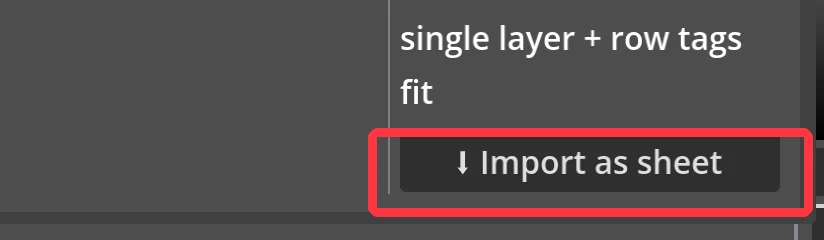
Click ⬇ Import as sheet. Every cell becomes a frame on the timeline; each row becomes a
tag (row0…N) you can play back.

The sheet is now one layer of frames on the timeline, with a tag per row
(row0…N). Pick a tag, hit ▶ Play, and it moves — no engine needed.
Character split across several files — a body sheet, a weapon, an fx pass? Right-click a layer name
in the timeline → Import…, pick the next .png / .aseprite / .json,
and it drops in as a new layer stacked below (sharing the same grid). Repeat for each part.
Double-click the layer name to rename it — body, weapon, fx —
so the stack stays readable and each part can be shown, locked or exported on its own later.
gap, ox or oy in the
same grid panel until the sprite sits inside the cell — then it's set for the whole sheet.