Topic 03 · Masks & selections
A selection is a stencil.
Open the Mask tab (right panel: Brush · Fx · Mask) — that's where selections live. Once you've selected part of a sprite, everything obeys it: the brush, the fx, move, copy/paste. Paint boldly across the edge and it stays inside the lines. Three things you'll actually use.
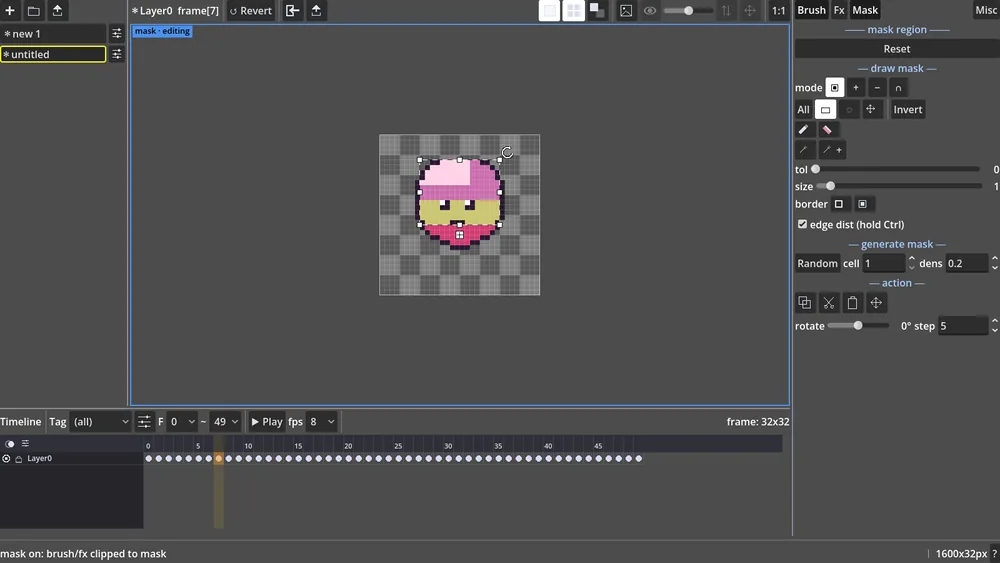
Make a selection — drag a box, use the Magic wand, or Select same colour. Hold
Shift while selecting to add to what's already selected
(Alt subtracts) — same as the Replace / Add / Subtract / Intersect buttons at the
top of the tab. The wand grabs by colour: raise its tol slider to also catch near-identical shades
(size below it sets the freehand mask-brush width).
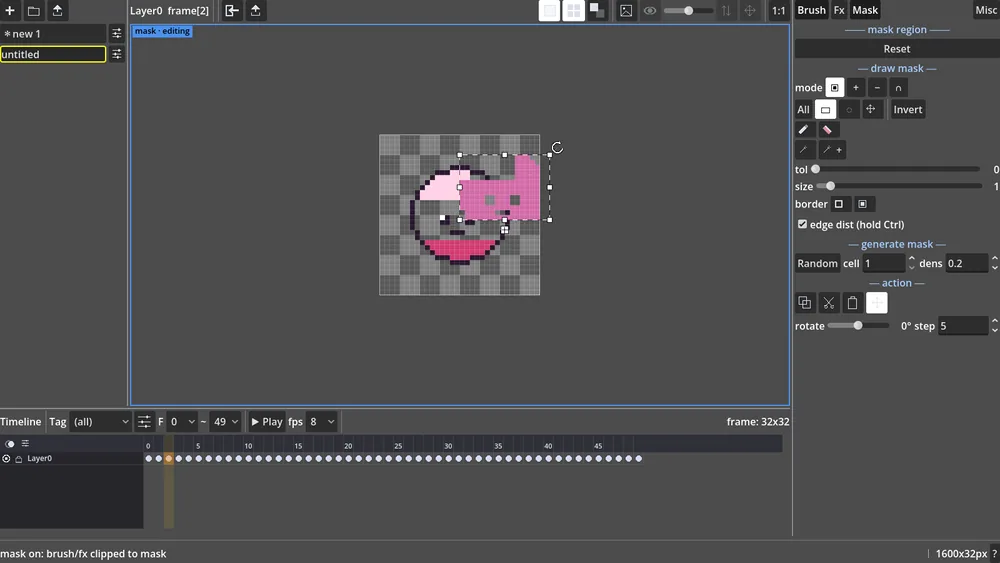
Then press V (Move / Stretch) and drag inside the selection: it lifts into a floating object you can slide around; drag a corner handle to resize. Click again to drop it. Nothing outside the selection moves.
Turn on Enable mask (the mask toggle on the canvas toolbar). Now the brush and every fx
only land inside the selection — the status bar reads mask on: brush/fx clipped to mask.
Scribble across the whole sprite; the paint only sticks where the mask allows. Great for shading one shape
without touching its neighbours.
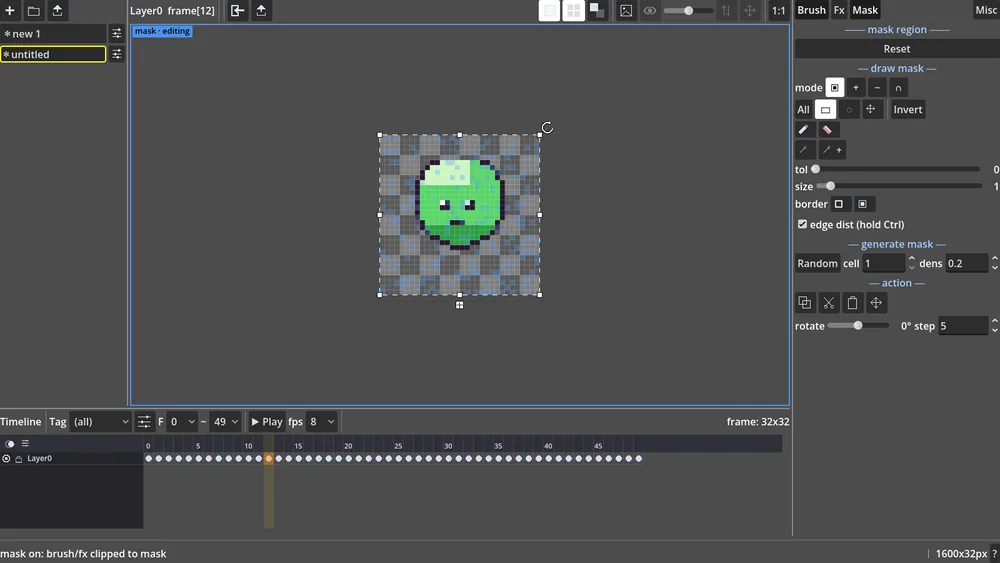
The mask doesn't have to be a shape. In the Mask tab, generate a random mask by density — a
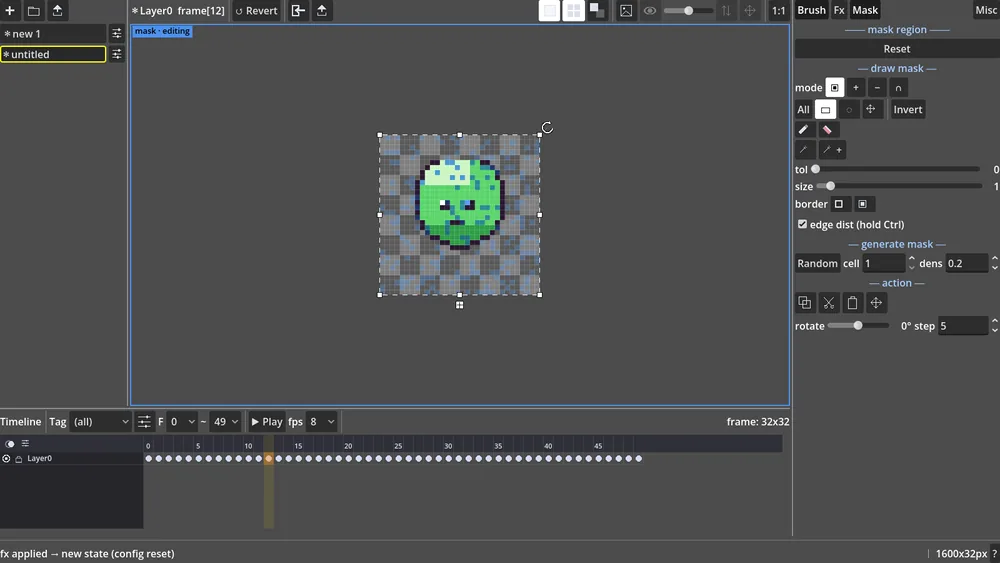
speckly stencil (tune density and cell size). Then open Fx → Tint and pick a colour:
only the speckled pixels take it, giving instant texture — grime, frost, dithered shading. Hit
Fx Apply to bake it in.
Select → the brush, fx, move and clipboard all respect it. New clears the mask when you're done; Mask lock keeps a selection alive through several operations; Invert flips inside for outside.